In this tutorial we will learn the following:
- How to create a new Avalonia UI project using Avalon Studio.
- How the basic Avalonia project is layed out
- How to compile and run our project.
Prerequisites:
We assume you have already installed and are running Avalon Studio on your machine.
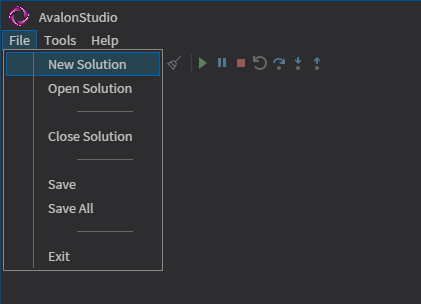
Begin by clicking on File -> New Solution.
This will bring up the project template screen.
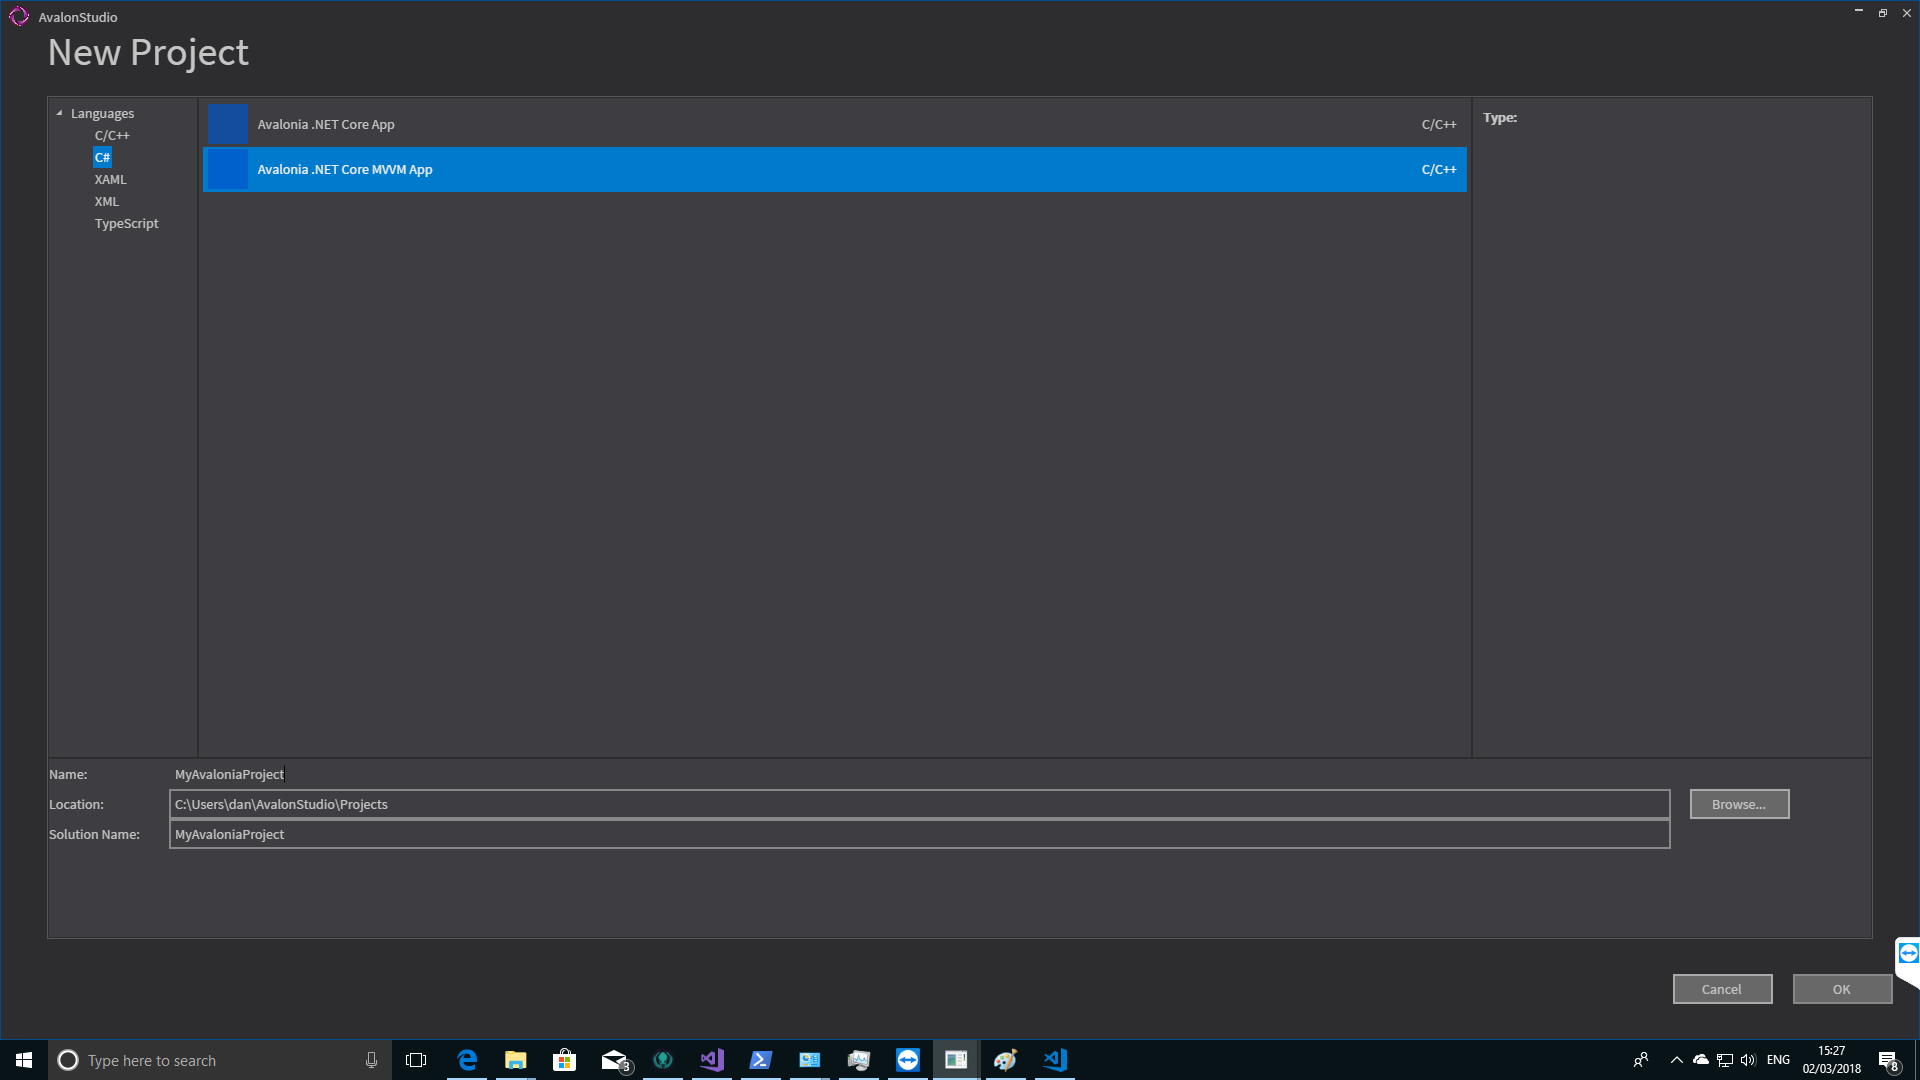
Select C# from the list of languages on the left. The select the Avalonia NETCore MVVM App template from the list in the middle of the screen.
You can then change the name to something more suitable like `MyAvaloniaProject` then click OK.
It may take a few seconds for the project to be created and loaded, upon which you will see something like the following.
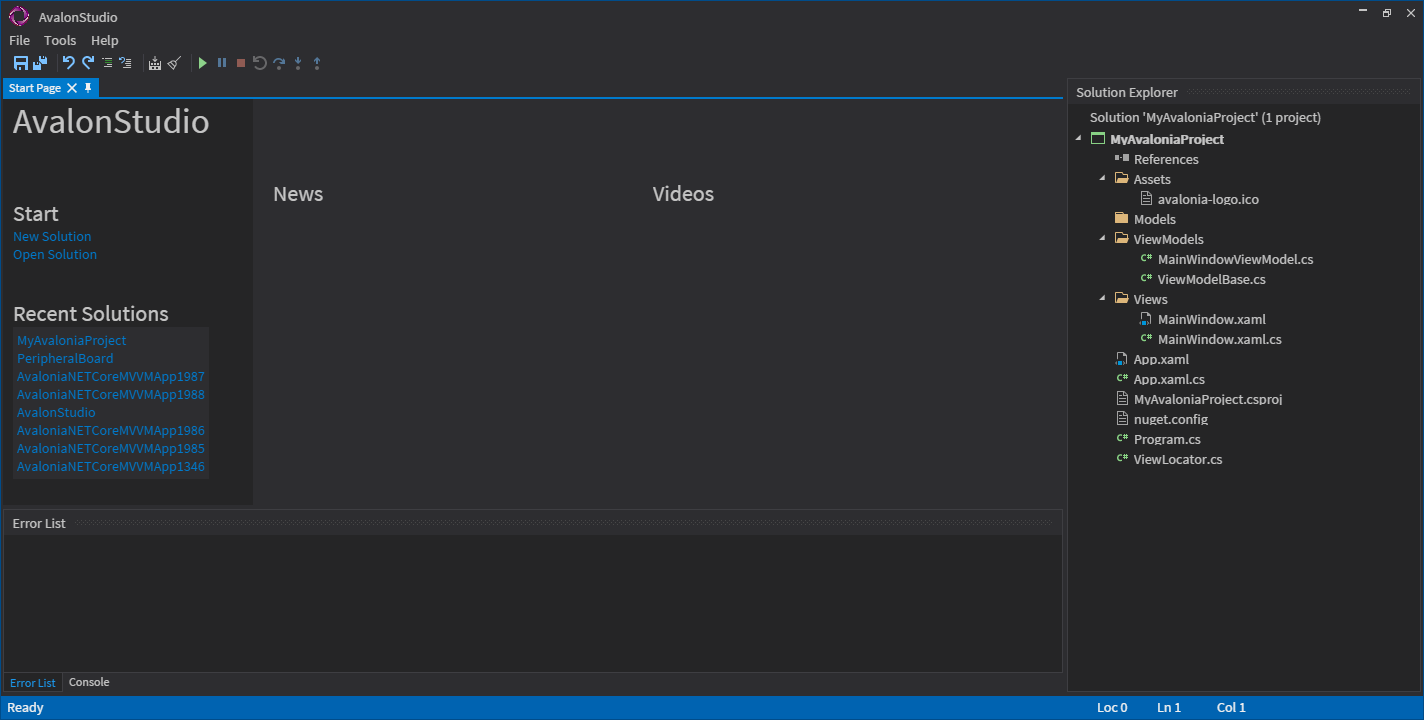
If you look to the right of the screen we have the solution explorer. This shows the structure and files within the solution.
The Avalonia UI template automatically creates several files and folders within the project. This constitutes a recommended layout for Avalonia UI projects.
The following folders exist:
- Assets
This folder is intended to store images, icons and other media content for your application. Any file inside this folder will be embedded withing the compiled executable. - Models
This folder should contain all the code that forms the buisness logic of the application. That mean non-ui logic. We will go into this in more detail in upcoming tutorials. - ViewModels
This folder will contain all the ViewModel classes that describe all the UI logic of each view. There is usually a one to one relationship between the number of views and view models. Again we shall cover this topic in more details in upcoming tutorials. - Views
This folder will contain all the UI (Xaml) code that describes the various Windows, Pages and Controls that the UI consists of.
In the root of the project we have the following necessary files:
- App.xaml
This file describes the global styles and resources of the application. Usually styles are not directly places in this file, but rather referenced from it. - App.xaml.cs
This is simply a C# class used to load the App.xaml code. - MyAvaloniaProject.csproj
This is the project file, it can be edited to add nuget packages, project references and more. - nuget.config
This is a file that tells nuget where it can download packages from other than the default nuget.org. Since Avalonia is still in BETA it will allow you access to Avalonias nightly builds incase you need them. - Program.cs
This contains the main entry point of the application. - ViewLocator.cs
This is a simple utility class which locates views based on the use of a paricular viewmodel. We will cover this in a future tutorial.
First thing to do is to view the UI in Avalon Studio’s XAML previewer. In order for this to work the project needs to have been built. To do this press the build button ![]() or F6 on the keyboard.
or F6 on the keyboard.
You will then see the build status in the console at the bottom of the screen. Provided everything works you will see the following output.
Creating: 4 build nodes.
[MyAvaloniaProject] Node = 1
MyAvaloniaProject -> C:\Users\dan\AvalonStudio\Projects\MyAvaloniaProject\MyAvaloniaProject\bin\Debug\netcoreapp2.0\MyAvaloniaProject.dll
Build Successful – 00:00:03.120970
Now click on the MainWindow.xaml file to open the Xaml Editor.
The Xaml editor shows you the Xaml code at the bottom and the preview of how the Xaml will render at the top.
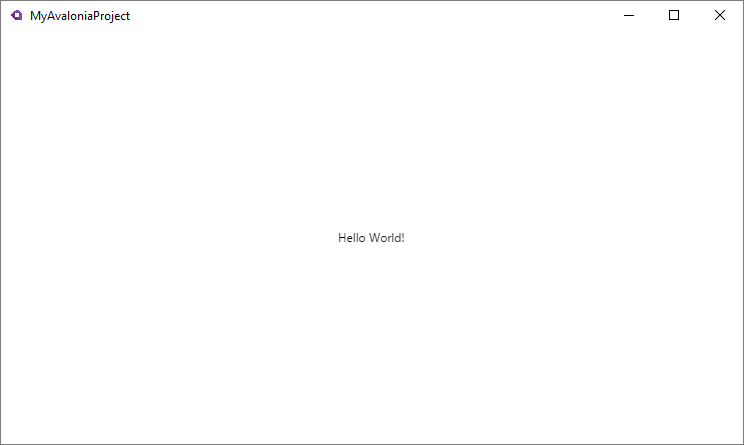
Now we can run the program under the debugger by pressing F5 on the keyboard or the Debug button ![]()
We have now created a project compiled and run it. Here is a video that demonstrates the process.